Finger joint wood bonding joins short timber pieces end to end to make longer components. The joint profile increases the bonded area, but strength depends on accurate machining, suitable wood, even adhesive coverage and controlled pressing. This guide explains the common joint styles, production steps and problems to check when selecting an adhesive.
Nội dung bài viết
What is a finger joint?
A finger joint is an end joint formed by cutting matching interlocking “fingers” into two wood pieces. Adhesive is applied to the mating surfaces, and the pieces are pressed together to make a longer board or strip. See the general finger joint description for the geometry. In production, the final bond must be qualified for the wood species, product design and service environment.
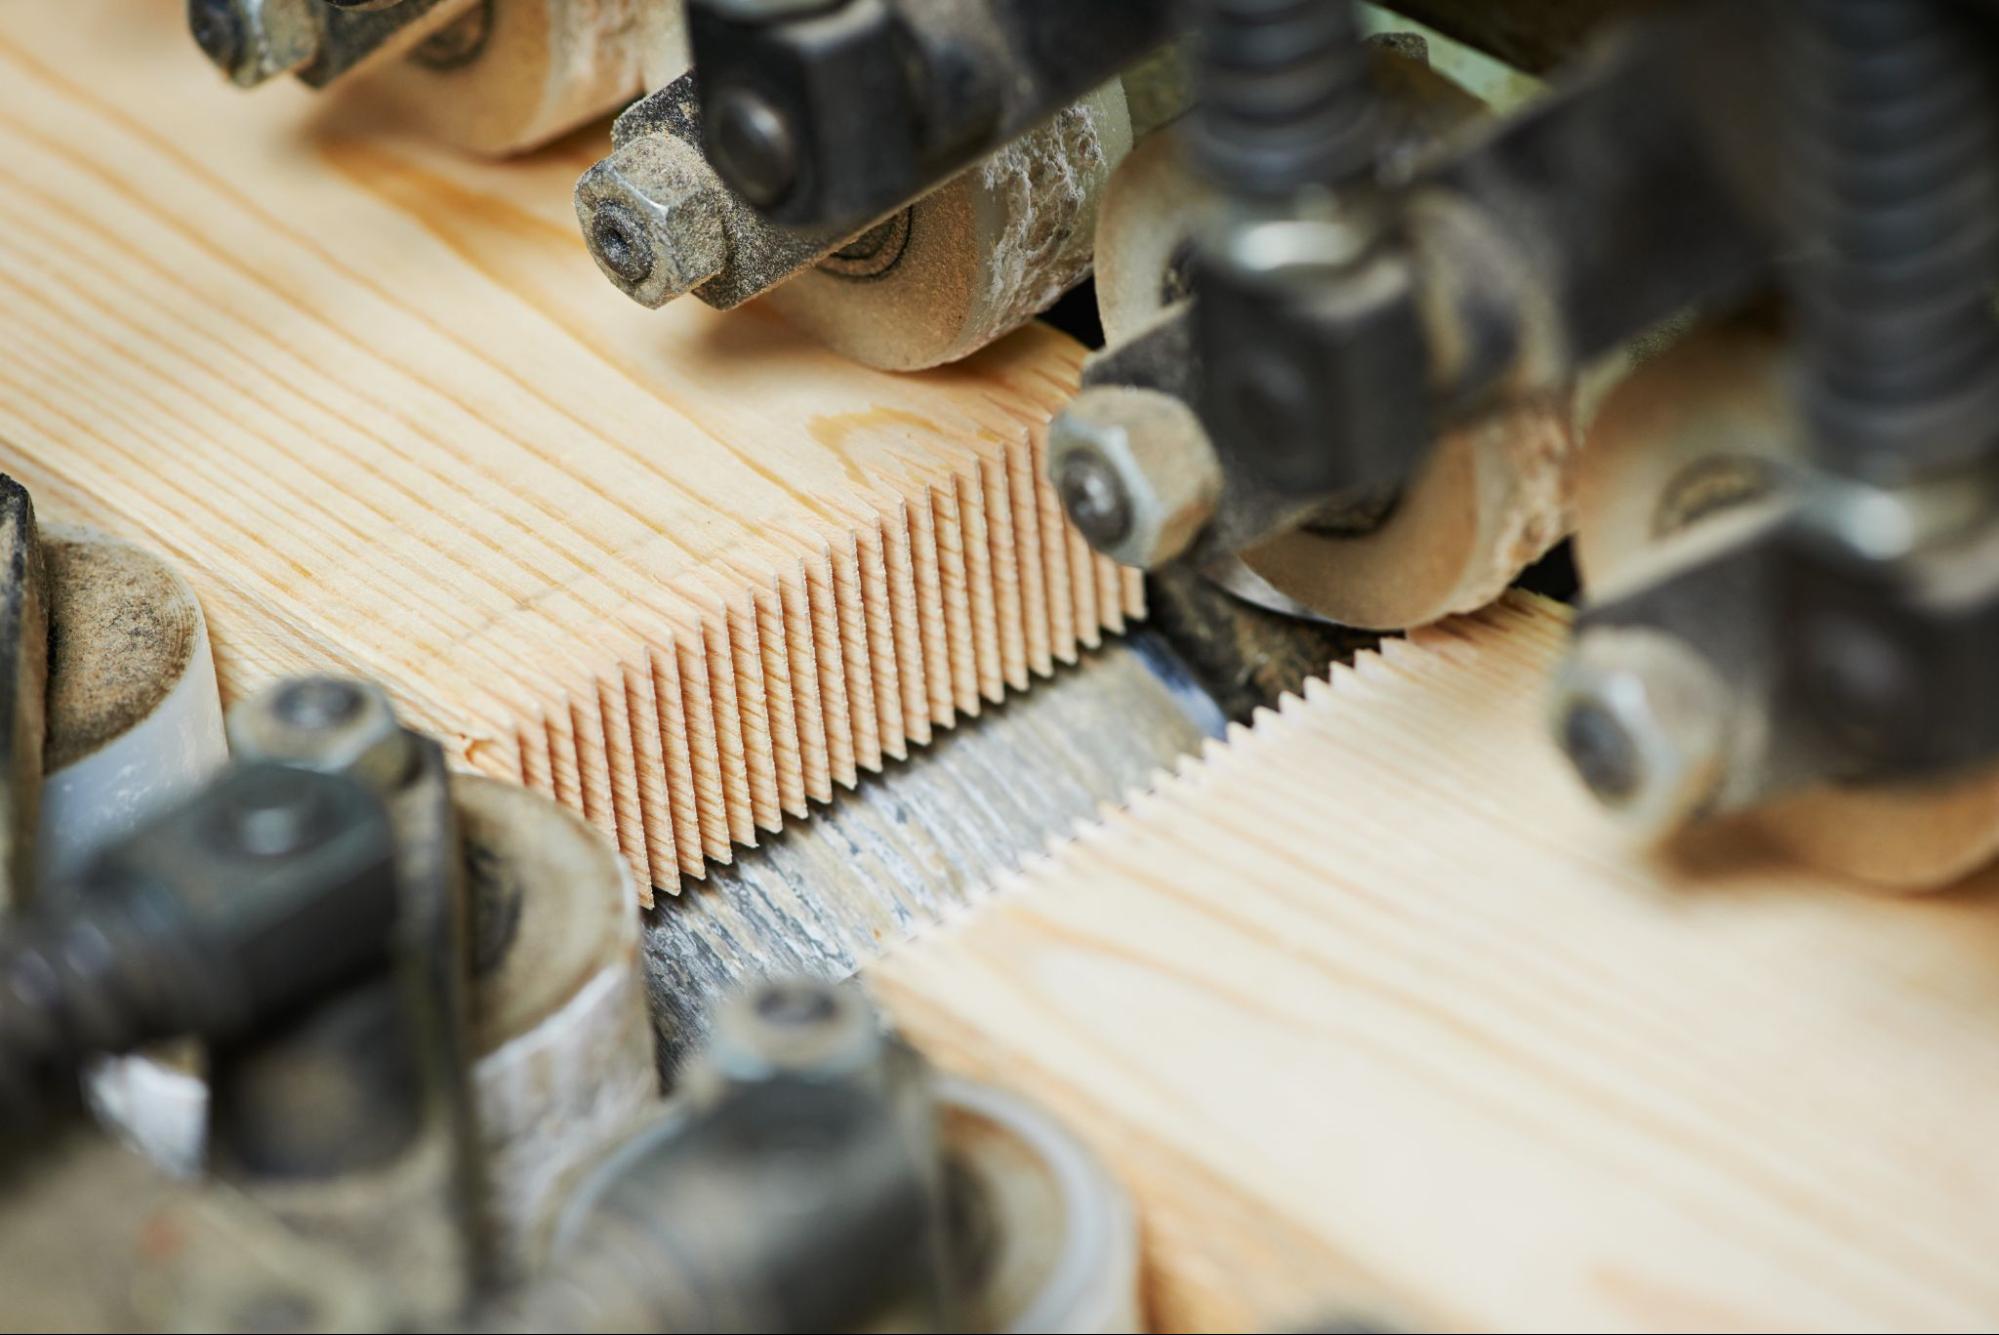
Finger joined timber can be used in furniture components, doors, shelving, flooring and other products where longer lengths are needed. The joint can make better use of shorter wood pieces, provided defective stock is removed and the finished component meets the required performance standard. Dimensional stability and appearance depend on material selection and process control; the joint alone does not guarantee either outcome.
Why manufacturers use it
- Short offcuts can be converted into useful longer pieces, reducing material waste.
- Lengths can be planned for the finished component instead of relying only on long solid stock.
- A well machined, well bonded joint can provide a consistent appearance and reliable performance after validation.
Common lengthwise wood joints
Finger joints are one way to join timber along its length. Other joint designs have different machining and load requirements.
Finger joint
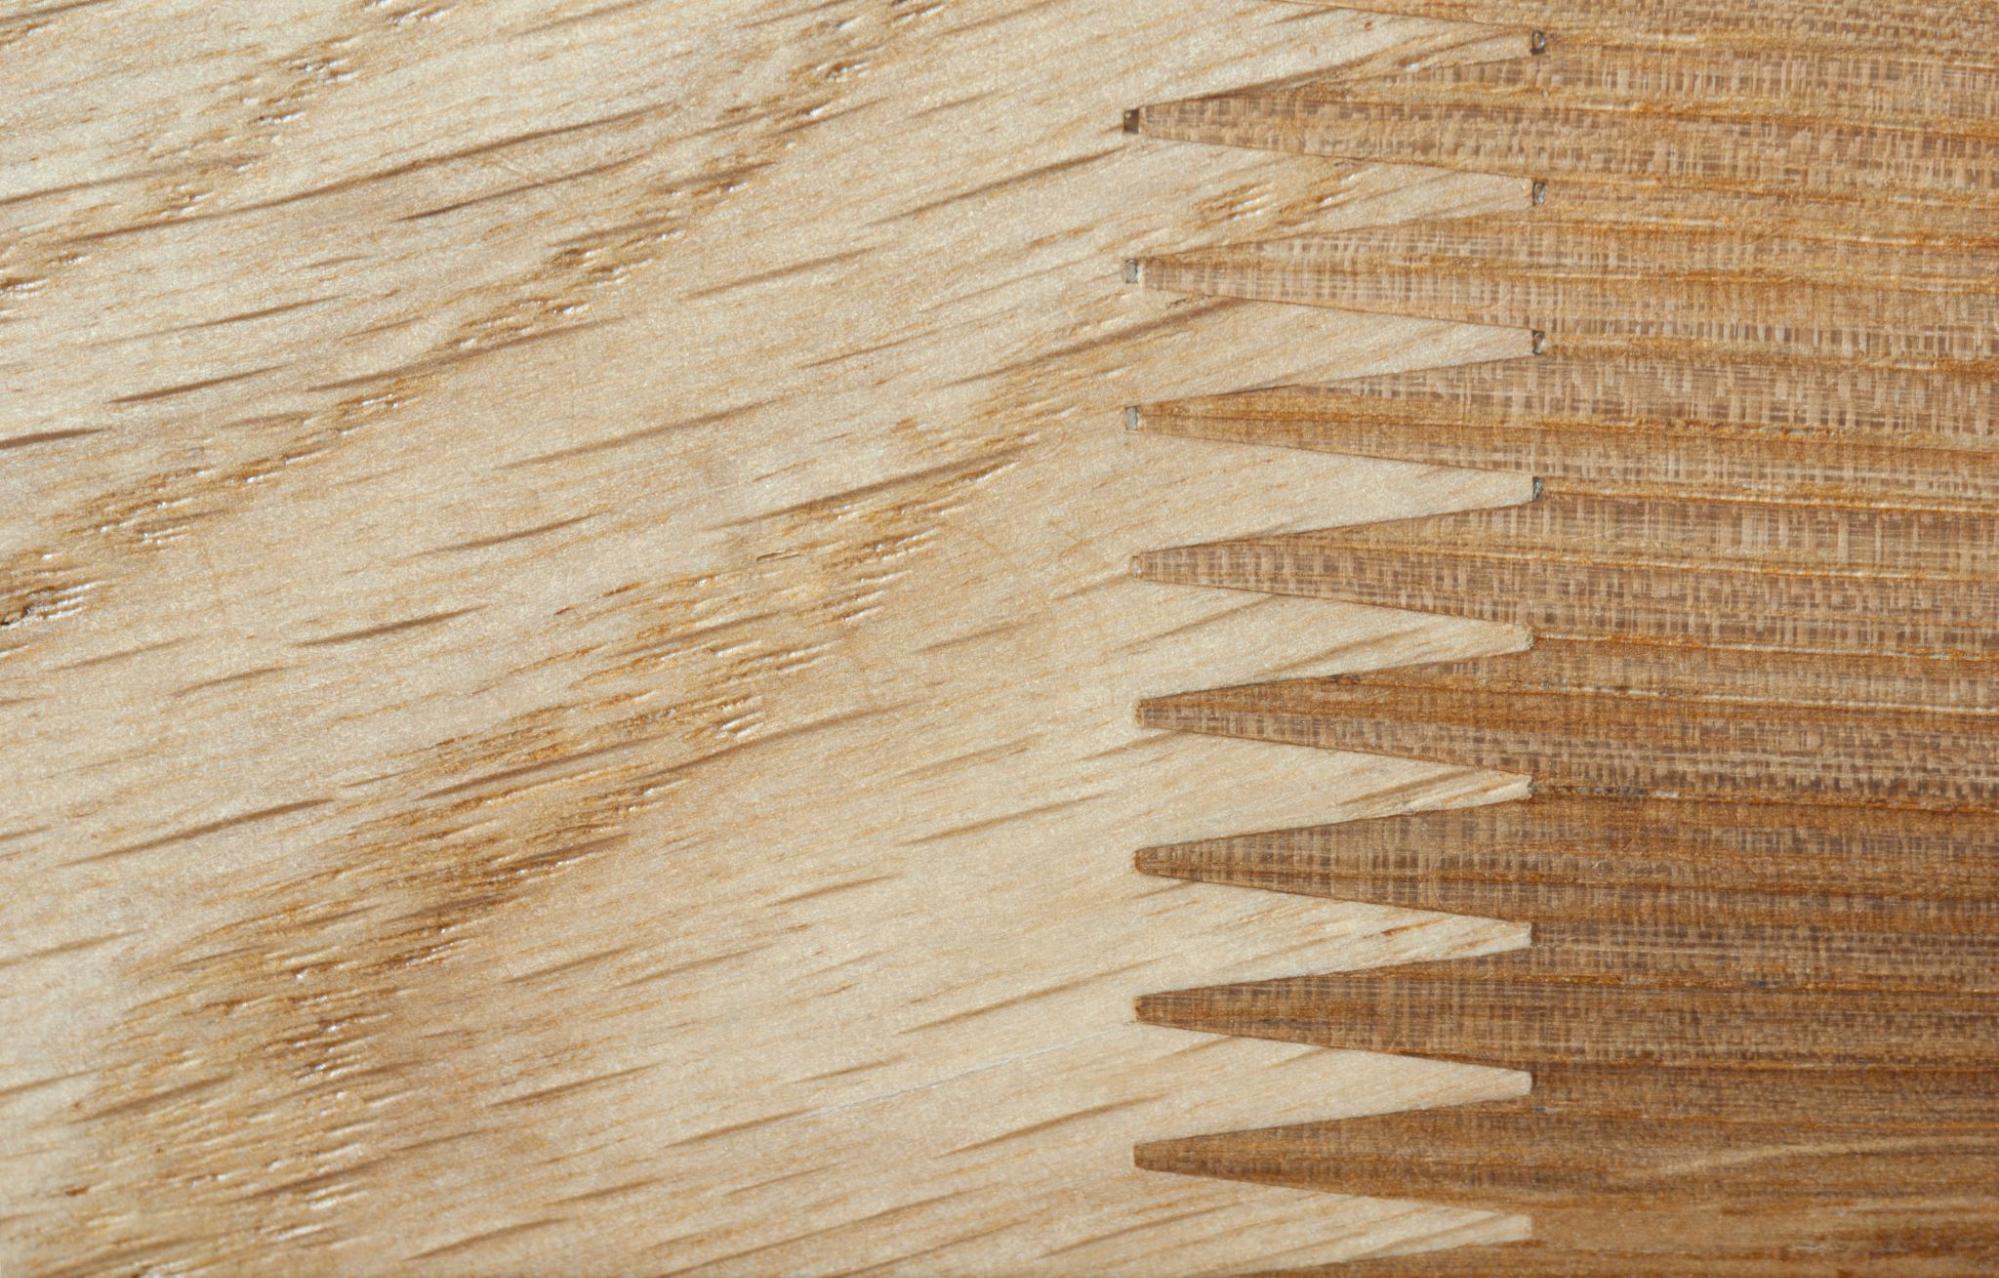
Matching fingers are cut at the ends, coated with adhesive and pressed together. Finger geometry, fit, wood moisture and glue spread must all be controlled. This is a common choice for long strips and boards.
Other joint designs
- Dovetail: Interlocking tapered shapes are often used in drawers and furniture joinery. The tooling and orientation differ from an end finger joint.
- Butt joint: Flat ends are brought together. The limited glue area may require reinforcement depending on the load.
- Scarf joint: Angled ends increase contact area and can be used for long members when the design is engineered for the application.
- Mortise and tenon: A tenon fits into a matching mortise, commonly in frames and furniture assemblies.
Five steps in finger joint wood bonding
1. Prepare the wood
Select sound timber, cut pieces to size and remove stock with defects that would weaken the joint. The source article cites an 8–12% moisture range; the acceptable range for a specific line should be set by the wood species, service conditions and adhesive supplier. Keep mating surfaces clean and free from dust, oil and loose fibers.
2. Machine the fingers
Cut matching profiles with sharp, correctly set tooling. Check finger length, depth, alignment and fit. Gaps or crushed tips prevent uniform contact and cannot be corrected simply by applying more adhesive.
3. Apply adhesive evenly
Cover the intended bond surfaces with the specified coat weight. Too little adhesive can leave dry areas; too much can cause squeeze out and waste. A one component PVAc adhesive may be suitable for certain interior woodworking processes, but grade selection must follow the required strength, water resistance, open time and production speed. Explore TECHBOND woodworking adhesives for related options.
4. Press the joint
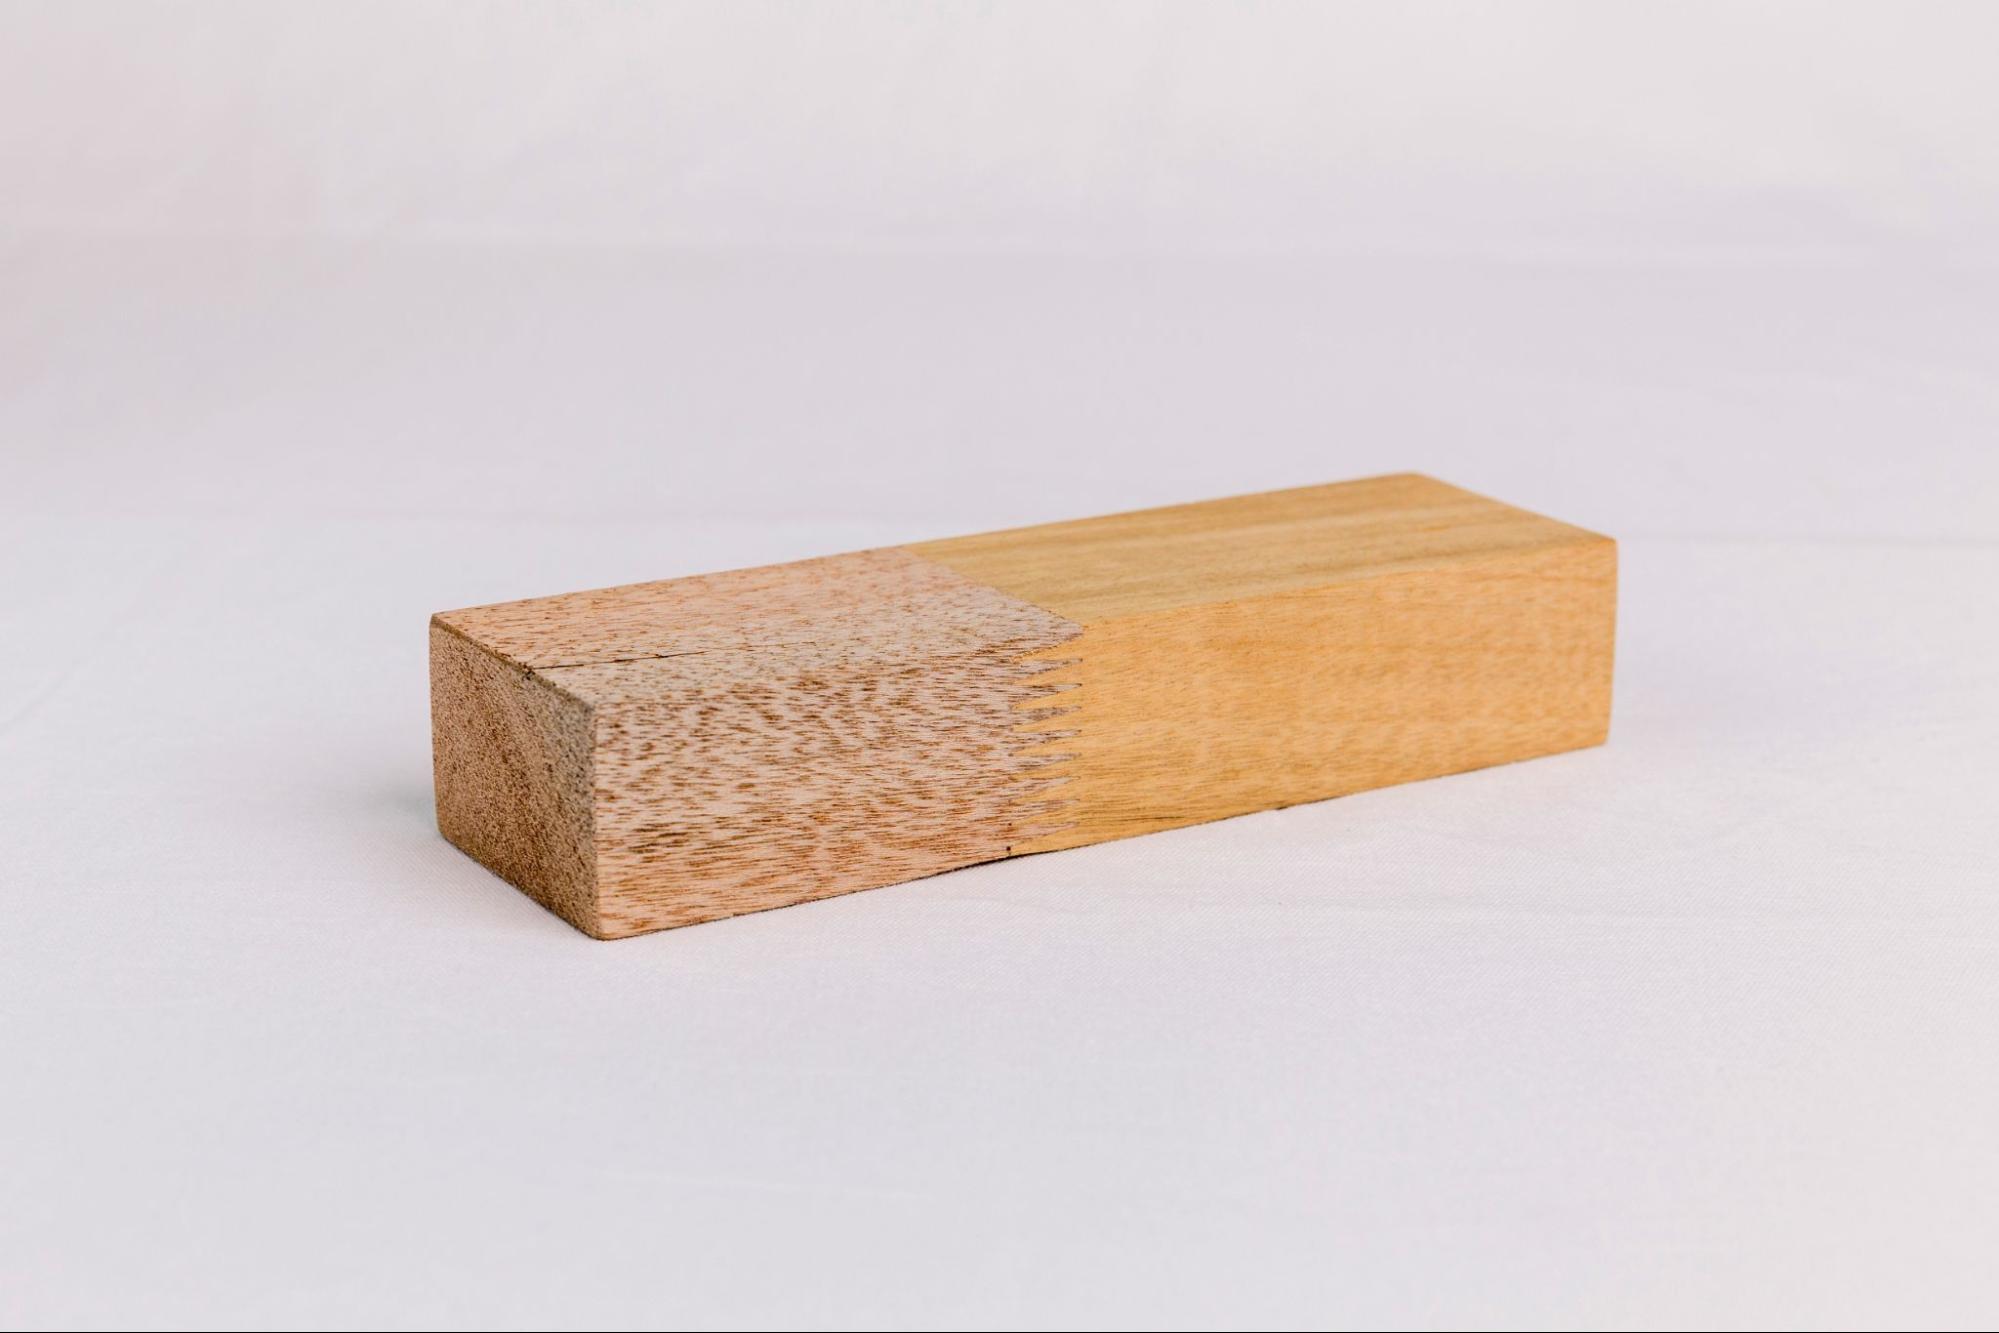
Assemble within the adhesive’s open time and apply controlled pressure to bring the fingers into full contact. The Vietnamese source gives example pressure and press time values, but settings vary with profile, wood, adhesive and equipment. Use the adhesive technical sheet and verify actual line conditions rather than adopting a single pressure or time for every product.
5. Cure and finish
Allow the bond to reach sufficient strength before machining or loading. Then sand and apply the required coating or finish. Check for visible gaps, misalignment and bond failure in a representative sample.
Choosing an adhesive for finger joints
For finger joint wood bonding, compare adhesive grades on the actual wood and profile. Consider substrate moisture, required service environment, target strength, open and press times, cleaning needs and production rate. TECHBOND’s one component white glue options can be evaluated through line trials. A two component system may be relevant where the application requires different performance; see our two component wood adhesive guide.
Common finger joint problems and remedies
| Problem | Likely causes | What to check |
|---|---|---|
| Weak bond | Uneven glue spread, dirty wood, poor fit or insufficient pressing. | Clean and dry the surfaces; measure coat weight; inspect profile fit; use the specified pressure and press time. |
| Warped component | Uneven wood moisture, unsuitable stock or poor preparation. | Condition the wood consistently and check moisture before machining and bonding. |
| Misaligned joint | Pieces shift or are positioned incorrectly before pressing. | Check guides, tooling and alignment at assembly; inspect finished joints regularly. |
Record defects and process settings during trials. Good finger joint wood bonding depends on the complete system: wood, profile, adhesive, application and pressing. For more adhesive categories, read our industrial adhesive overview or contact TECHBOND with samples and process details.
TECHBOND MFG (VIETNAM) CO., LTD.
Address: No. 18, Street 23, VSIP II-A Industrial Park, Vinh Tan Ward, Tan Uyen City, Binh Duong Province, Vietnam
Sales hotline: +84 866 15 37 68
Email: info@techbond.com.vn

TECHBOND Vietnam is a leading manufacturer of industrial adhesives in Vietnam. We specialize in providing a wide range of flexibly customized adhesive products to meet the diverse requirements of our customers.
Need advice on the right industrial adhesive?
Share your materials, application and production process. TECHBOND will help recommend a suitable solution.
Request a consultation